

What is pfSense?
pfSense is open source firewall and router software.
With features like NAT, VPN, IDP, and DNS pfSense is highly versatile.
Before starting, you’ll need a pfSense ISO file which you can get from their website.
You’ll also need VirtualBox with a client operating system of your choice. I’ll be using Windows 10 which can be found here.
Creating the pfSense Instance
Launch VirtualBox and press New to create a new virtual machine. Give it a name and select the pfSense ISO Image. Since pfSense is a version of the FreeBSD operating system set it to type FREEBSD (64-bit).
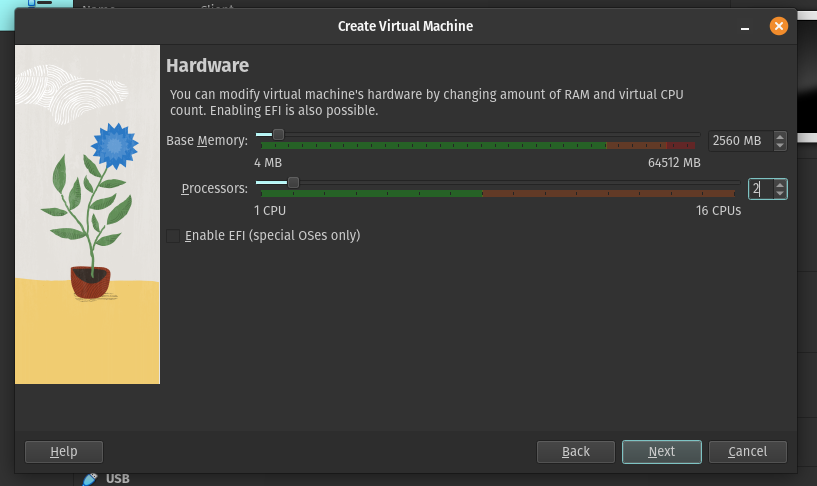
The minimum hardware allocated to pfSense must be at least 512MB of memory, 1 CPU Core at 1GHz, and 4GB of solid state storage but I’ll be giving my instance extra resources for future uses.
Select the virtual machine and click Settings. Navigate to the network settings and use the following configuration:
Bridged Adapter
Adapter 1
Promiscuous Mode: Allow all
What pfSense will use to access your real network. Serves as a WAN adapter helpful for communicating with the wide area network (the internet in this case).
Internal Network
Adapter 2
Promiscuous Mode: Allow all
What your client will connect to. This serves as a LAN adapter facing the internal network or the Local Area Network.
Promiscuous Mode allows the virtual machine to access all traffic on the network adapter rather than just traffic addressed to it.
Important: Make sure your client virtual machine has only 1 network adapter enabled and attached to Internal Network, we do not want traffic reaching the client without going through the pfSense router & firewall first.
Booting the pfSense ISO
Before using the pfSense operating system you’ll need to install using the ISO’s guided installation. Select the pfSense machine and click Start.
Press Enter to boot in multi-user mode. Single-user mode is mainly used for maintenance and troubleshooting. The booting is verbose so you should see white text scrolling the screen until you reach the Copyright and Distribution Notice and if you agree to the prompt press Accept.
This brings you to the Install pfSense screen where you press Enter to continue with the installation.
Setting up the WAN Interface
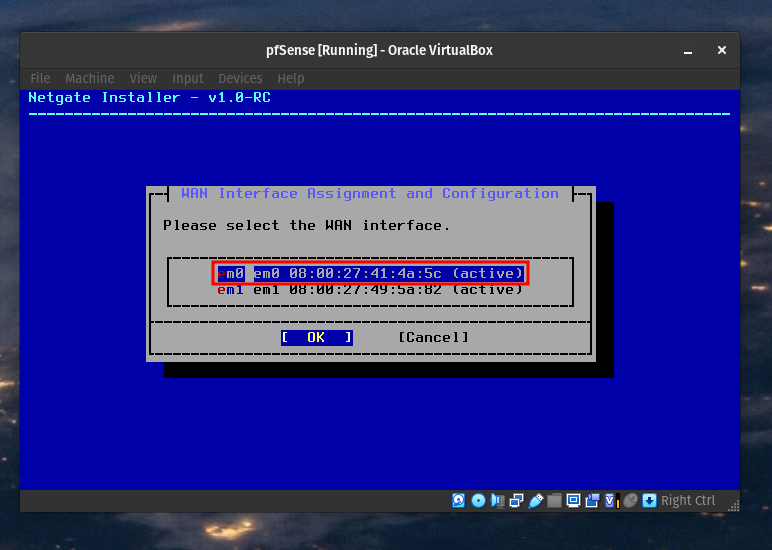
To figure out which interface to use refer back to your network settings for the pfSense machine. Since the installer is requesting the WAN interface; select the interface matching the MAC address of the Bridged Adapter.
In the WAN configuration screen you can set Use local resolver to true to cache DNS and increase performance. For interface mode leave it at DHCP (client) to give the client an IP address automatically. Proceed with the installation.
Setting up the LAN Interface
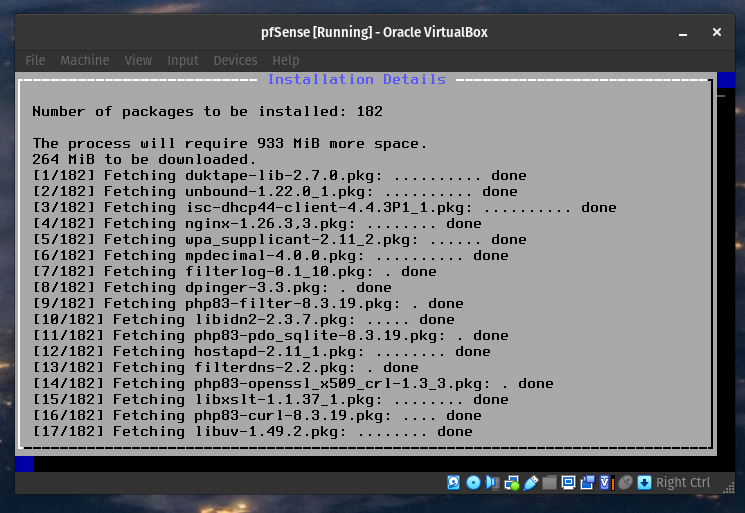
The LAN interface will be the only available interface. No need to change that configuration so continue with the installation. The installer will prompt you to confirm your choices, press Continue. Accept the defaults until you reach the installation. You may be prompted for a pfSense+ registration key, select pfSense CE (Community Edition) instead.
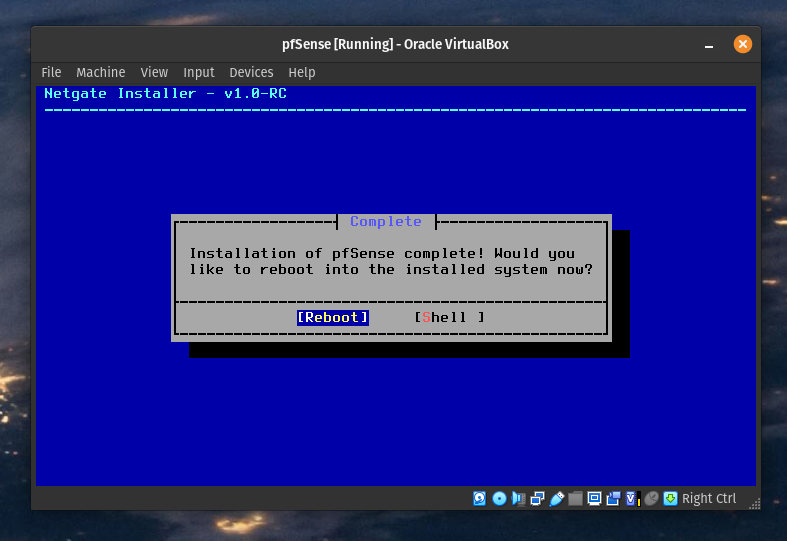
The First Boot
pfSense is installed! Remove the ISO from the optical disk slot in storage and boot the virtual machine. To confirm pfSense was installed correctly you should see this screen.
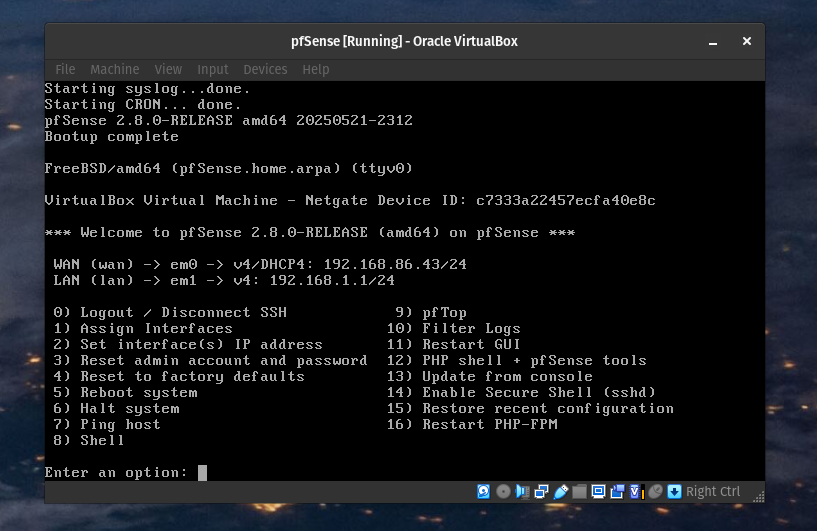
You did it! Let’s move over to the client and configure our pfSense.
Diving into pfSense
Run the client virtual machine, in my case I’ll run Windows 10. After booting run a command prompt or terminal windows and ipconfig for Windows or ifconfig for Mac/Linux. The default gateway entry is the IP address to our pfSense instance. Navigate to that IP address in your browser.
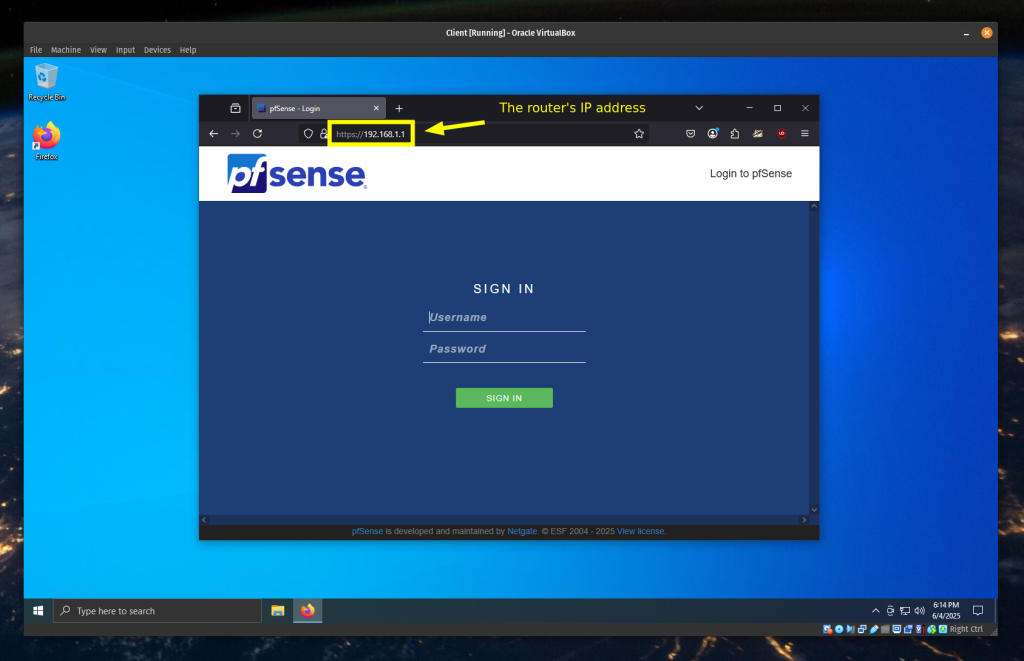
The default login is as follows:
Username: admin
Password: pfsense
After logging in take a moment to get familiar with the dashboard.
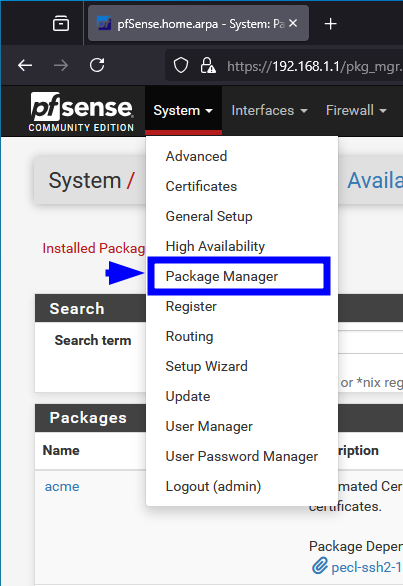
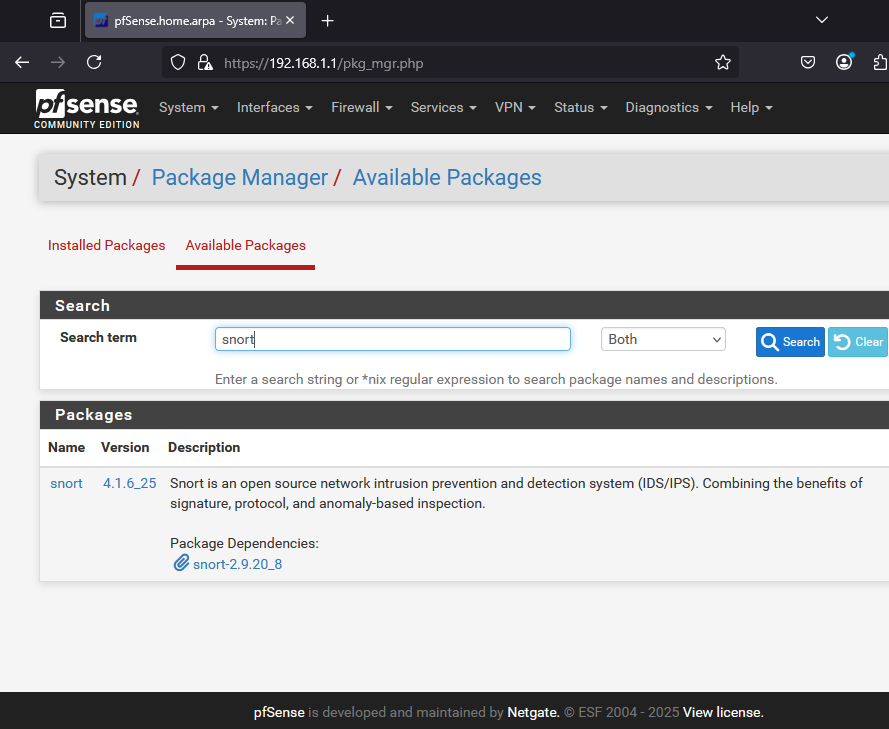
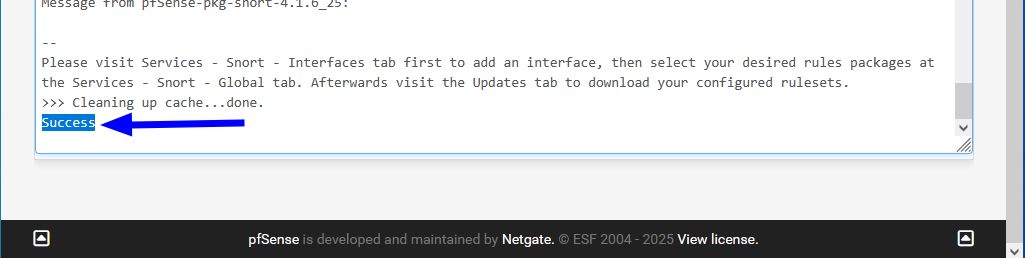
Navigate to System >> Package Manager >> Available Packages and search for “snort“. Click install.
If snort installed successfully you’ll see the following message.
Detect Intruders with Snort
Snort is an open source IDS or intrusion detection system used to monitor traffic on the pfSense network. With Snort you can protect the network by using rules to detect malicious activity. Snort will detect if a external actor violates the policy.
Next Time
In the next part I’ll cover Snort configuration and implementing event logs.

Leave a Reply